
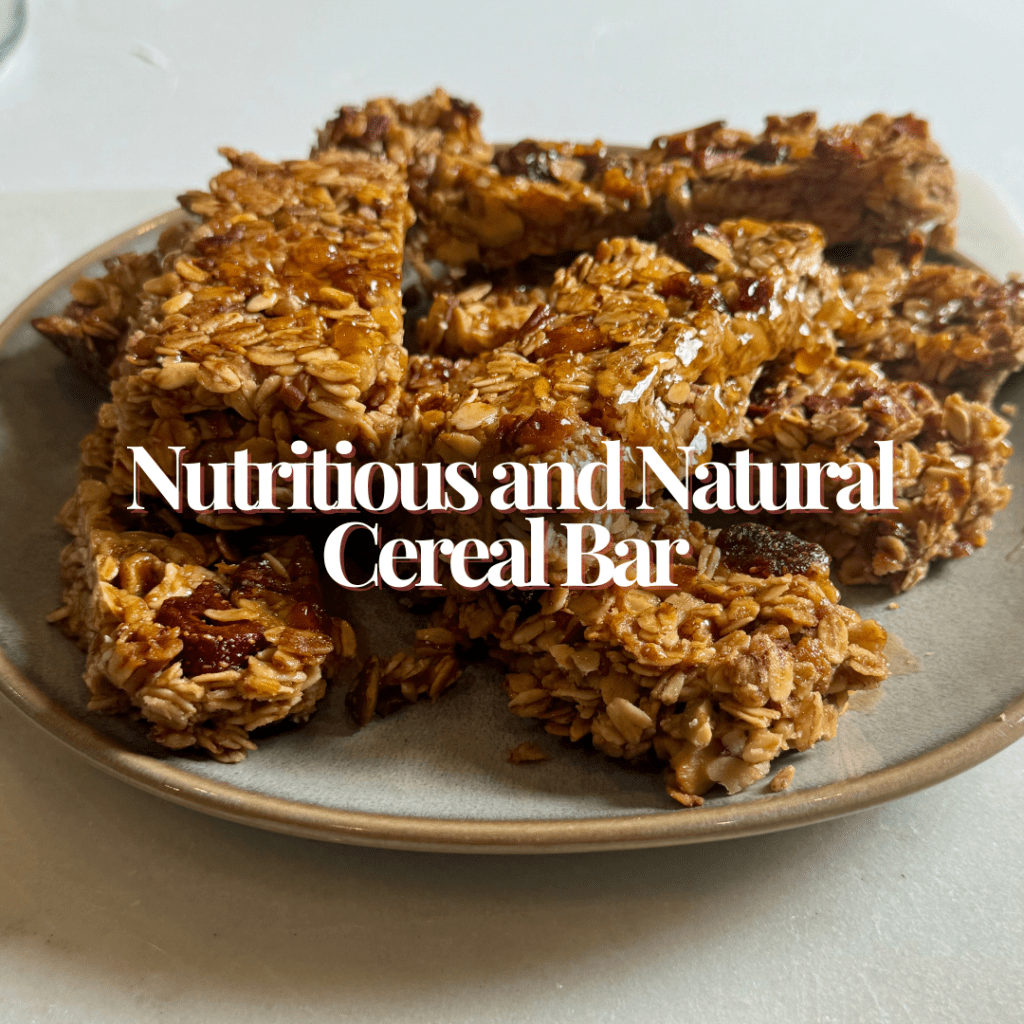
Made with natural ingredients like oats, seeds, nuts, and dried strawberries, this bar is a perfect option for a convenient snack throughout the day. The honey and strawberry purée add a touch of natural sweetness, while the coconut oil gives it a smooth and rich texture. Best of all, you can customize this recipe with your favorite fruits and seeds. The result is a flavorful, wholesome cereal bar without any food additives. Try it and feel the difference of eating something homemade, crafted with care and love!
Ingredients:
- 3 cups of rolled oats (I used gluten-free)
- 2 tablespoons of pumpkin seeds (you can use any type of seed like sunflower or sesame)
- ¾ cup of honey (I always use a 250g measuring cup)
- 100 ml of strawberry puree (recipe below)
- 2 cups of mixed nuts (I used pecans, walnuts, almonds, cashews, and Brazil nuts)
- ½ cup of almonds (you can substitute with any type of nut)
- A pinch of salt (I used pink salt)
- 1/3 cup of coconut oil (I used flavorless extra virgin, rich in MCTs, caprylic, and capric acid)
- 10 dried strawberries, chopped (you can use any dried fruit, about 1/3 cup)
Strawberry Puree Recipe:
I used 250g of fresh strawberries and 2 tablespoons of lemon juice. Cook over low heat in a heavy-bottomed pan for about 20 minutes, stirring occasionally, until it thickens.
Instructions for the Cereal Bars:
- Preheat the oven to 320°F (160°C), and then increase to 340°F (170°C).
- Line a baking pan with parchment paper (I greased the pan slightly to help the paper stick. My pan is 11.4” x 8”). Set aside.
- Toast the oats and nuts in the oven at 320°F (160°C) for about 15-20 minutes. Set aside.
- Heat the liquid ingredients over medium heat, then add the toasted oats and nuts along with all the other dry ingredients into the pan. Stir for about 5 minutes.
- Pour the mixture into the prepared pan and press it down firmly using a spatula, your hands, or the back of a large spoon.
- Bake in the preheated oven at 340°F (170°C) for about 25-40 minutes (if you like it firmer, leave it for the full 40 minutes).
- Let it cool for about 10 minutes before making the first cut while it’s still warm, to prevent it from hardening too much.
- Once completely cool, store in an airtight container, wrap individually in plastic wrap, or place in small bags.
This is a 100% natural recipe, made without any chemical additives.
Enjoy!
From my kitchen to yours,
Ana Raquel

Leave a comment