
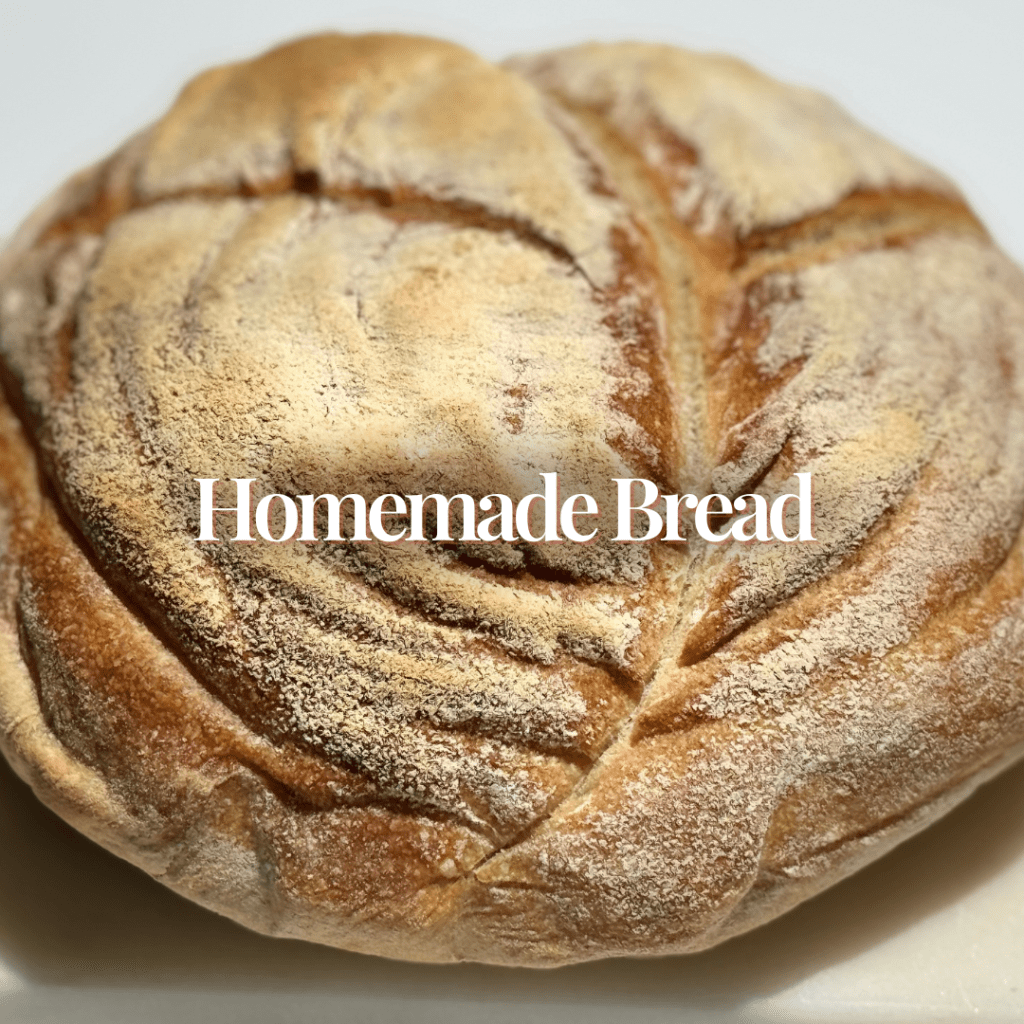
The crust of this homemade bread is delightfully crisp and golden brown, with a crunch that gives way to a soft and chewy interior. It has a satisfying thickness that offers a contrast to the tender crumb inside. When you bite into it, you experience a combination of textures that is both crunchy and yielding, making each bite a sensory delight.
Furthermore, as this bread bakes, it fills your kitchen with a warm, inviting aroma that is both comforting and mouth-watering. The scent of fresh bread baking wafts through the air, carrying notes of yeast, wheat, and a hint of sweetness. The aroma is rich and wholesome, evoking memories of home and hearth, and is a true testament to the simple pleasures of baking bread from scratch.
Additionally, sharing a freshly baked loaf of bread that you made with someone is a gesture of warmth and care. It is a simple yet meaningful way to show kindness and create memorable moments with loved ones.
This recipe makes between two loaves depending on which size you want to make them.
| Ingredients for Starter • ½ cup of water • 1 cup of flour • ¼ teaspoon of instant yeast How to Make Starter To prepare the starter overnight and bake the next day: Mix all the ingredients and let rest in a container covered with a dish towel. Place in an oven or microwave turned OFF. Make sure the area is closed and dark. |
Ingredients for the bread:
- 1 starter (see above)
- 1 ¼ cup of room temperature water
- 1 ½ teaspoon of instant yeast
- 3 ½ cup of all-purpose flour (or bread flour)
- 1 tablespoon of salt
Instructions:
- Mix the Ingredients: In a stand mixer, add the starter, water, flour, yeast, and salt. Mix (in medium speed) until all of the ingredients are combined and dough stops sticking to the corners of the bowl.
- First Rise: After all ingredients are well combined, remove the mixture from the bowl and roll into a ball. Place the dough atop a piece of parchment paper greased with baking spray.*Let it rise for at least 1 hour, in a closed oven/microwave that is turned off and dark.
- Shaping the Dough: After it has risen for at least an hour, transfer the dough to a lightly floured surface. Knead the dough 1-3 times like envelope shape. Between each time, let the dough rest for at least 15 minutes. This is essential to the bread’s texture.
- Final Shaping: Mold the dough into your desired shape, or how I showed it on video. Allow the dough rise for at least 1 hour
- Preheating the Oven/Second Rise: Preheat oven to 450°F (230°C). Until the oven is preheated, (or at least 30 minutes, should you be running short on time).
- Final Touches: Before baking, lightly sprinkle the bread with flour or semolina. With a sharpened knife, create a longitudinal cut on top of the bread. This helps the dough to rise and create a crust as it bakes.
- Baking the Bread: Place the dough in the preheated oven and bake until it reaches a golden brown color (and a crunchy crust).
Tip 1: To achieve a fantastic crunchy crust, you can use a Dutch oven, how I showed at the video or place the dough directly on a baking sheet lined with greased parchment paper. Additionally, place a cast-iron pan with ice on the bottom rack of the oven to create steam during the first 10 minutes of baking. Afterward, remove the cast-iron pan and allow the bread to develop a nutty color and reach an internal temperature of 190°F at the center.
Serving the Bread: After removing the bread from the oven allow the bread cool on a wire rack around 30 minutes before serving.
Tip 2: You can enhance the flavor and freshness of this bread by preparing it in advance. After the dough has risen and is shaped into a loaf, you can place it in the refrigerator overnight. In the morning of the following day, you can then bake it. This process allows the flavors to develop further and results in a freshly baked loaf with a richer taste.
Gather with your loved ones to devour a delicious, rustic bread; sharing not only a scrumptious meal, but also memories that will last a lifetime.
From my kitchen to yours,
Ana Raquel.

Leave a comment